![]()
Learn how to create smooth curves using the Pen Tool. It is recommended that you follow along on Photoshop while reading this article. This will make the learning experience much more enjoyable
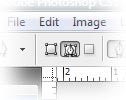
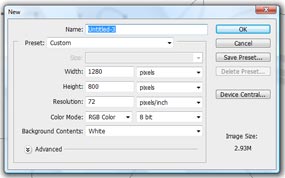
 We will create a simple curved line using a pen path. I recommend that you follow along on Photoshop to learn about pen paths. Start by creating a new Photoshop Document (File > New).
Path Basics
Anchor Points
- Choose the Pen Tool

- Choose “Paths” from the tool options from the top.
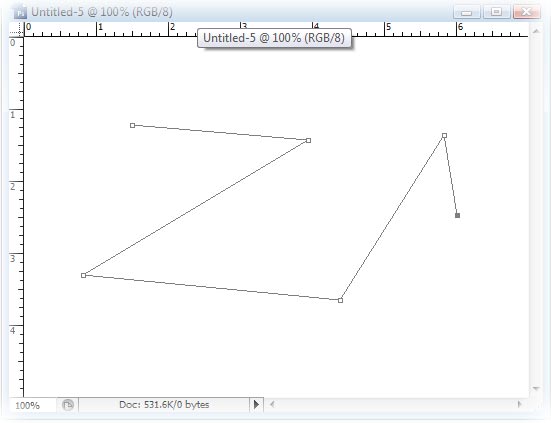
- Click and release your mouse multiple times, on random locations, on the new document.
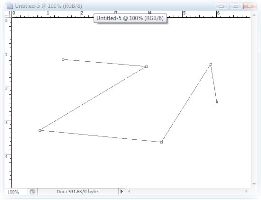
- The tiny squares at the corners are called Anchor Points. Anchor Points exist to connect different path segments and to modify the way they look.
- Create another anchor point but instead of just clicking, press and then hold the button down and then drag your mouse cursor any way you want. Drag in multiple directions and you’ll notice that the path segment curves and bends depending on how you drag your mouse cursor. If you drag away from the anchor point then the line gets a greater curve. The curve travels with the straight line no matter which way you rotate it.
Click on the Play Button to Play
-
There are many ways of editing anchor points. If you place your pen tool on an existing anchor point then you will see a Minus sign next to it. That will delete the anchor point. You can place your pen tool on a path segment and you will see a Plus sign next to it. This will add an anchor point on the path segment. You can press ALT and then click on an anchor point to edit your control lines. More details will be posted about editing Anchor Points in a future post because that would be beyond the scope of this short introduction.
Creating Perfect Curves
We will now finally create an actually smooth curve using the pen tool.
- Choose a brush setting. Set the size and color of the brush. I chose size 15 and color black (#000000).

- Choose the pen tool.
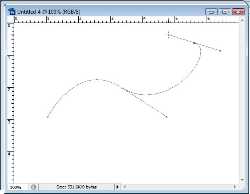
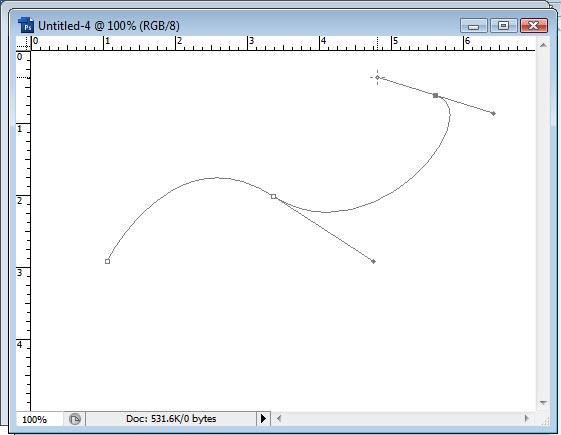
- Click once to create an Anchor Point. Next, Create another anchor point but instead of just clicking, press and then hold the button down and then drag your mouse cursor until the curve looks the way you want it to look. Repeat at other locations for more curves until you are happy with your single smooth curve.
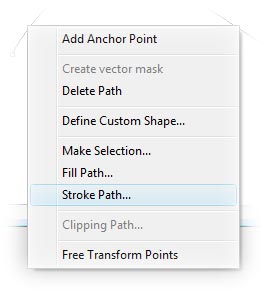
- Right click on the curve and choose Stroke Path.
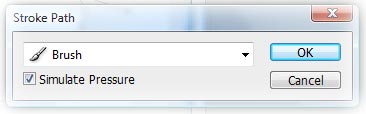
- Choose Brush from the drop down menu. If you want a constant straight line with constant opacity then uncheck “Simulate Pressure”. Otherwise, leave it checked.
Finally, you can right click and delete the path. If you wish to preserve the path, you can click on View > Uncheck Show Extras. This will preserve the path but you won’t see it on your image. You can bring it back by going to View >> Show Extras. You can access the Paths Palette by going to Windows > Paths.
